
Looking to capture fruits through your lens and make your shots appear natural, vibrant, and irresistibly fresh? In this post, we’ll walk through the essentials—how to choose the right fruit as your subject, what equipment you’ll need, and how to set up lighting that works best for your selected produce. Along the way, you’ll also pick up a few handy tips and creative ideas to help you get those mouth-watering shots.
Fruit photography falls under the wider category of food photography, and the key goal is always the same: make the image come alive so it draws the viewer in. To achieve those eye-catching results, try experimenting with different fruits and techniques that highlight their textures, shapes, and colours.
Fruits That Shine in Photos
- A dozen crisp apples
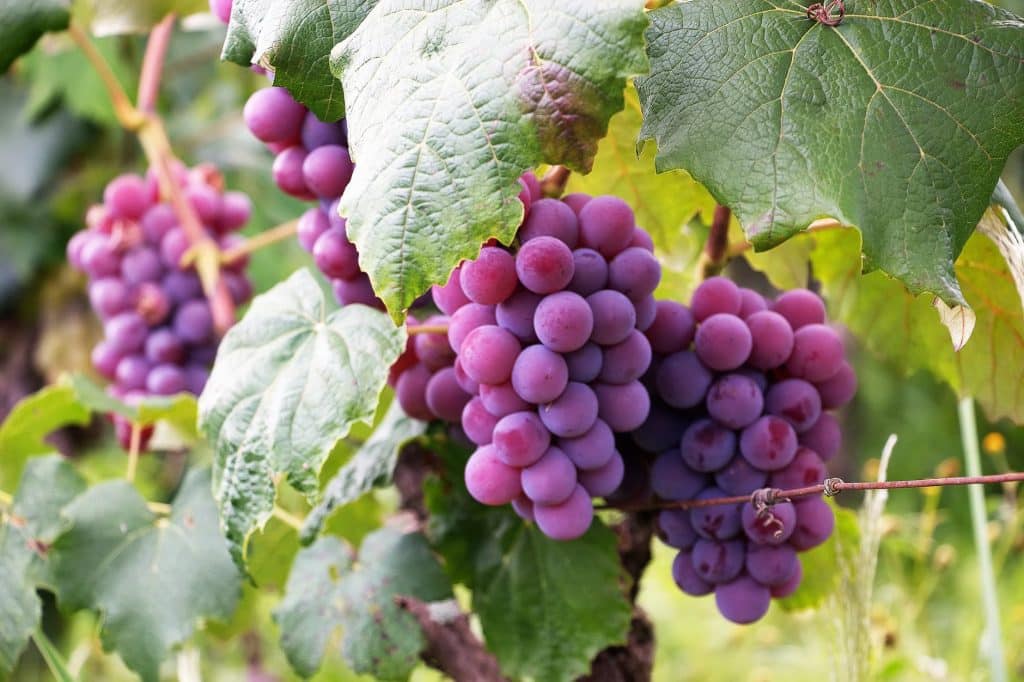
- A fresh bunch of grapes
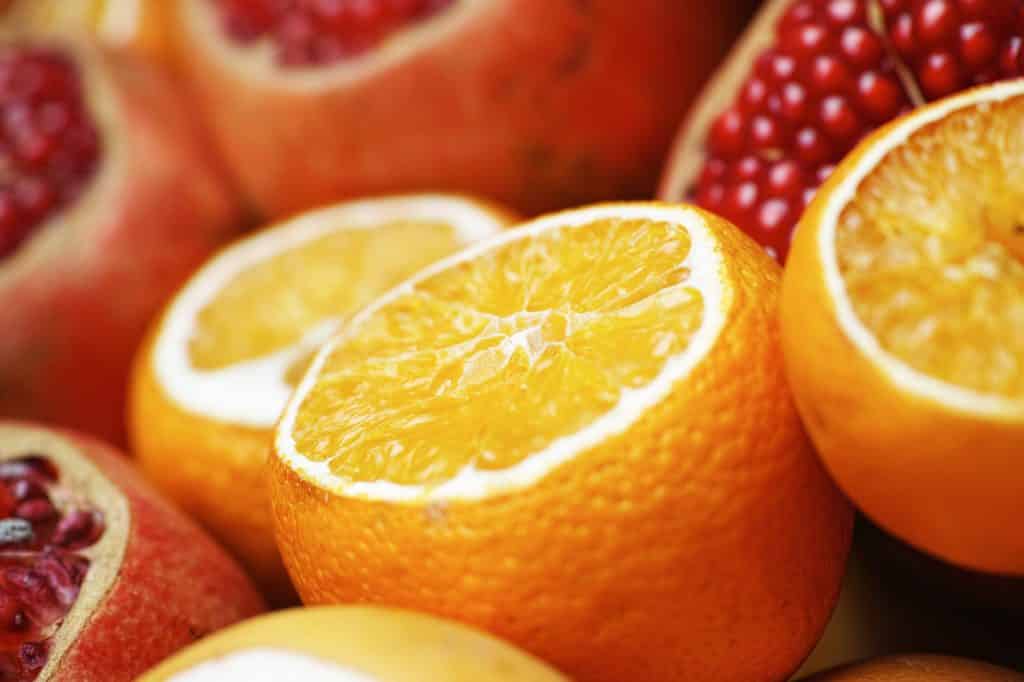
- A juicy half-cut orange
- Bright cubes of watermelon
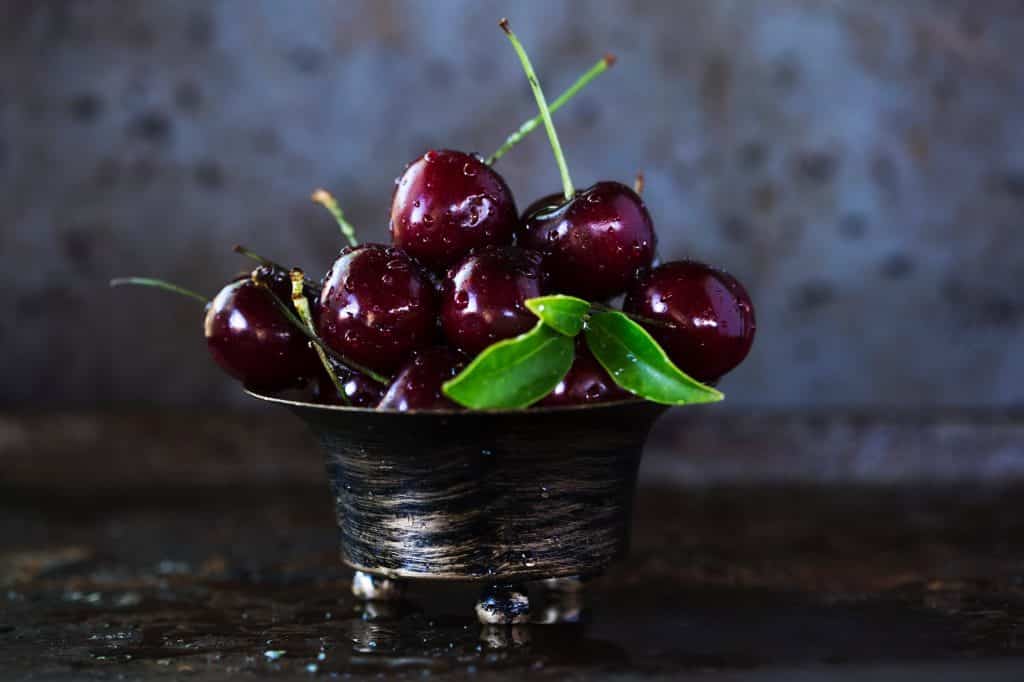
- A bowl of deep red cherries
- Freshly sliced pineapple
These fruits not only look appealing but also add richness and variety to your compositions.
5 Tips for Stunning Fruit Photography
Fruit photography is a unique branch of food photography, often used in advertising, product displays, and packaging for juices or fruit-based drinks. The goal is simple: to capture the essence of the fruit so well that viewers can almost taste it just by looking at the image.
1.Focus on Appearance
Always select fresh and flawless fruits as your subject. While editing tools like Adobe Photoshop can enhance your shots, relying too heavily on them can take away the natural, authentic look that makes fruit photography so appealing.
2. Arrange with Purpose
Place your fruits in a clear and thoughtful order to create a visually appealing setup. If you’re working with different varieties, make sure each one has its own space and is properly represented in the frame. Arrangement plays a huge role in food photography, giving your shots a polished and presentable look.
3.Adjust Your Camera Settings Manually
Once your fruits are neatly arranged, mount your camera on a tripod for stability. Opt for a smaller aperture to achieve greater depth of field, keeping focus sharp from front to back. Try using a slower shutter speed and a lower ISO setting to maintain quality—high ISO can add unwanted noise and reduce clarity.
4. Experiment with Composition
When experimenting with composition, try not to place your subject directly in the centre of the frame. Off-centre placements often create a more dynamic image. Remember, composition and lighting are the two key elements that bring food photography to life. If you’re planning to share your fruit shots on social media, styling becomes even more important. To boost engagement and attract more followers, we recommend checking out Food photography tips for social media for some useful insights.
5.Choose the Perfect Background
The background should complement your subject rather than compete with it. Avoid overly bright or colourful backdrops that could distract the viewer’s attention. Instead, opt for simple and subtle settings such as plain walls, blurred backgrounds, or solid textures. These allow your fruit to remain the star of the shot while adding a clean, professional finish.